Archived content
NOTE: this is an archived page and the content is likely to be out of date.
Quick steps to configure your fingerprint for Windows®
Introduction | Windows | Internet | Files & Folders |
1a) For administrator user, please proceed to step 2.
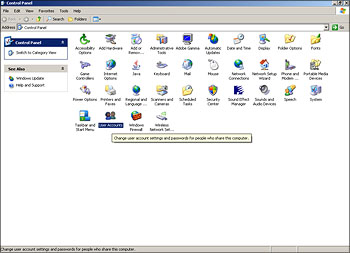
1b) To create* multiple user accounts with password access, please select ‘User Accounts’ from Control Panel. Follow the on-screen instructions to complete the account creation process. Log-off administrator account and relog-in with your newly-created user name and password.
* This action can only be performed by an administrator.
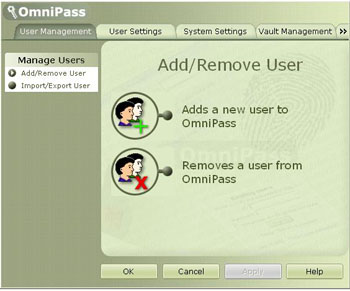
2) If OmniPass screen pops up to prompt you to enroll your fingerprint, please click 'next' and proceed to step 4. If there is no prompt, you will have to perform a manual startup of the program. Select 'All programs' from the Start menu. Choose 'Softex' and select 'OmniPass Control Centre'.

3) Register with OmniPass with your Windows® user name and password by clicking “add a new user to OmniPass” .
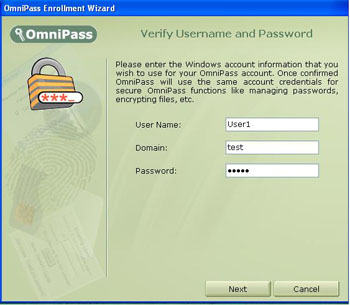
4) Register your Windows® user name and password with OmniPass for the program to recognize you as a registered user.
5) OmniPass will then request for you to select the finger to be used for verification when logging on to your LifeBook.
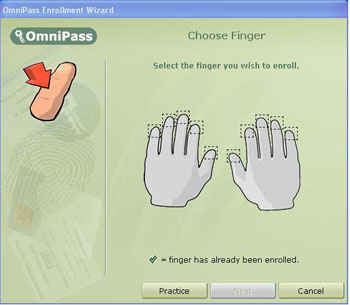
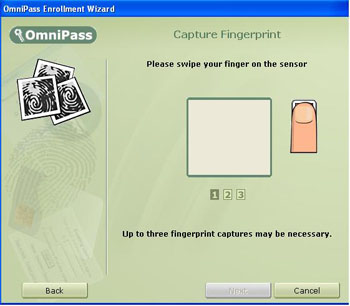
6) You will have to scan your chosen finger over the sensor thrice, as prompted on-screen.
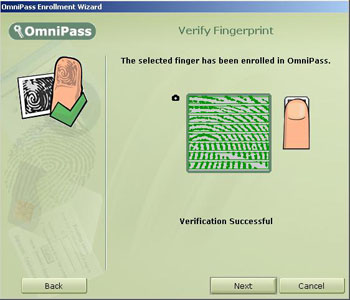
7) Upon completion, you will receive a prompt to notify if the exercise has been successful. OmniPass will then request for you to select another finger as a backup. It is strongly recommended that you do so.
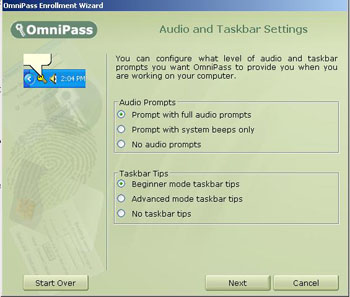
8) Select audio and taskbar preferences for OmniPass to prompt you, while working on your LifeBook.
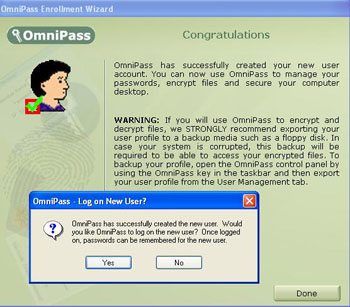
9) OmniPass will notify upon successful completion of the enrollment process and ask if you would like to log on as the new user. Select ‘yes’.
